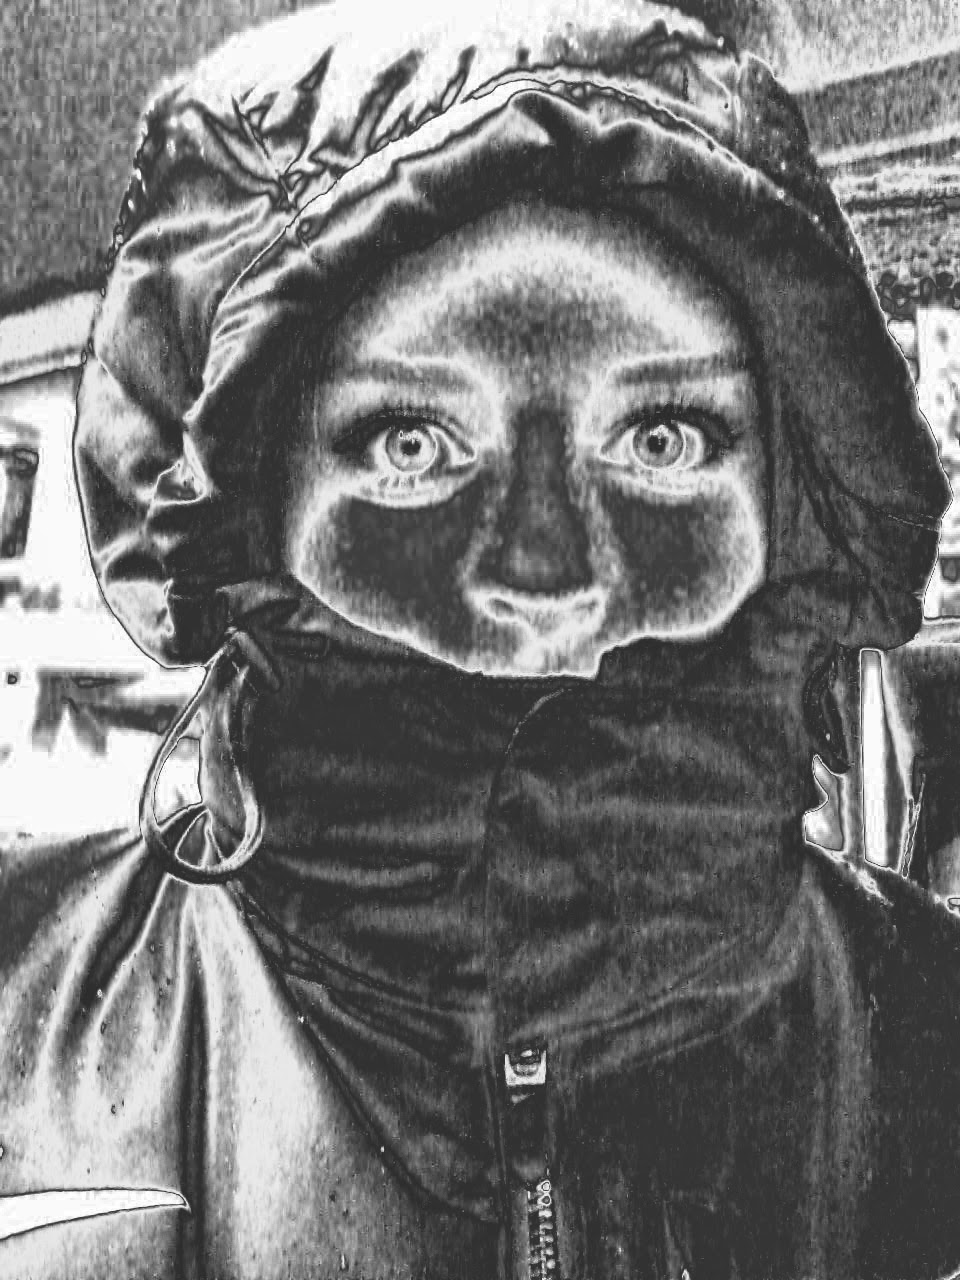
For each photo... 1. Take photo to BLACK & WHITE. 2. Adjust the BRIGHTNESS + CONTRAST to enhance (deepen and brighten) the values in the photograph. 3. "SAVE AS" the image, and add "BW" to the end of the file name so you do not save over the original. 4. Post all images. NOW... 1. Choose five of your photos that have the HIGHEST CONTRAST. 2. For each photo, OPEN the photo. 3. Create a DUPLICATE LAYER of the background image (Layers palette). 4. Change BLENDING MODE to "EXCLUSION" 5. Open CURVES and adjust the histogram line to a "W" or an "M" to produce a SOLARIZED/SABATTIER image with MACKIE LINES. You need to post... 5+ photos processed into Sabattier. Post the original next to the processed image. (That is 10+ photos total that are posted) SABATTIER EFFECT. Sometimes known as "solarization." Mackie Lines. CLICK HERE.
DIRECTIONS: Using your silhouettes & direct side-light photos, and other photos, combine your photos into various multiple exposures. Use BLEND MODE in the Layers Palette, to blend the various images in your layers. Erase or cut away parts of photos if needed...The beauty is in the unexpected.
1. Make 5 exposures of a person, or people, using the Rembrandt lighting technique (that is, with the small triangle of highlight on the shadowed side of the face).
2. Make 5 additional exposures using the chiaroscuro technique (does not necessarily need the triangle that is specific to Rembrandt light)
RATIONALE.
To explore intentional light, and exert a bit of control in the way the light illuminates the subject.
NOTE.
All 10+ images must be portraits of people.
Chiaroscuro (Italian for light-dark) in art is characterized by strong contrasts between light and dark, usually bold contrasts affecting a whole composition. More HERE.
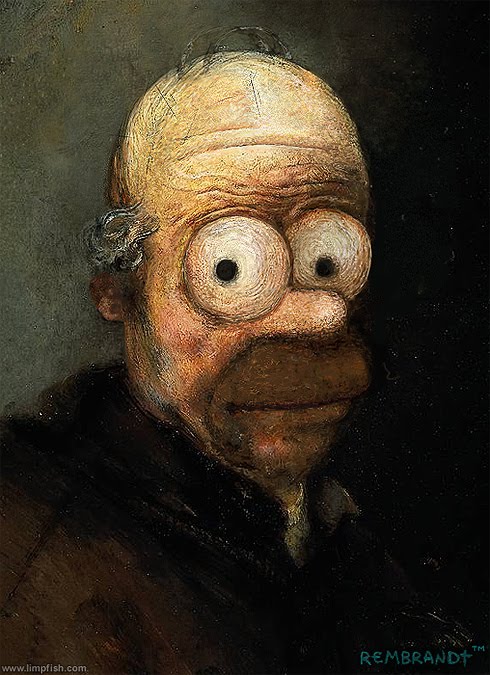
Rembrandt lighting is a lighting technique that is sometimes used in studio portrait photography. It can be achieved using one light and a reflector, or two lights, and is popular because it is capable of producing images which appear both natural and compelling with a minimum of equipment. Rembrandt lighting is characterised by an illuminated triangle under the eye of the subject, on the less illuminated side of the face. It is named for the Dutch painter Rembrandt, known for his use of light. More HERE.
In order to achieve the beautiful contrast between light and dark, known as chiaroscuro, there is a method employed by photographers -Rembrandt Lighting.




.jpeg)
.jpg)
.jpg)