

chi·a·ro·scu·ro
/kyärəˈsk(y)o͝orō/
noun
- an effect of contrasted light and shadow created by light falling unevenly or from a particular direction on something.
- ************************************************************
DIRECTIONS.
1. PERSON 1: Make 3-5 exposures of a person (or multiple people) using the Rembrandt lighting technique - with the small triangle of highlight on the shadowed side of the face.
Move the light source and/or your subject's head tilt/angle, even slightly, for each photograph to achieve slightly different shapes of the Rembrandt triangle of light.
It is normal to have many photos that look similar, but because you will slightly change angle of light/head during
2. PERSON 2: Make 10 exposures of a person (or multiple people) using the Rembrandt lighting technique - with the small triangle of highlight on the shadowed side of the face.
= A total of 13-15 images.
RATIONALE.
To explore intentional light, and exert a bit of control in the way the light illuminates the subject.
NOTE
All 10+ Rembrandt images must be portraits of people.
The chiaroscuro images can be any subject matter that is illuminated in a high contrast manner.

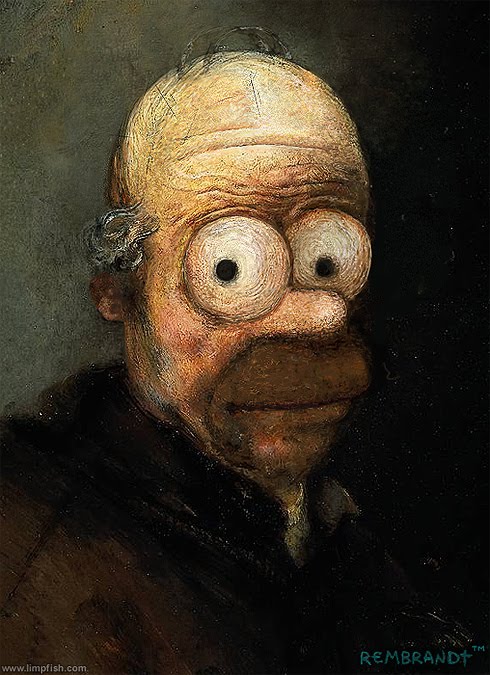
Chiaroscuro (Italian for light-dark) is a style of art that is characterized by strong contrasts between light and dark, usually bold contrasts affecting a whole composition. More HERE.
Rembrandt lighting is a lighting technique that is sometimes used in studio portrait photography. It can be achieved using one light and a reflector, or two lights, and is popular because it is capable of producing images which appear both natural and compelling with a minimum of equipment. Rembrandt lighting is characterised by an illuminated triangle under the eye of the subject, on the less illuminated side of the face. It is named for the Dutch painter Rembrandt, known for his use of light. More HERE.
In order to achieve the beautiful contrast between light and dark, known as chiaroscuro, there is a method employed by photographers - Rembrandt Lighting.


Decoding Chiaroscuro. CLICK HERE.
Click HERE to see and read how it is done.
An Aper(cul)ture article on Rembrandt lighting technique HERE.
Click HERE to see a few more lighting techniques (as well as more on Rembrandt lighting)
Examples. (CLICK HERE).


