05 November 2020

PROJECT #9: CHIAROSCURO PORTRAITS

chi·a·ro·scu·ro
/kyärəˈsk(y)o͝orō/
noun
  1. the treatment of light and shade in drawing and painting.
    • an effect of contrasted light and shadow created by light falling unevenly or from a particular direction on something.
    • *****************************************************************************************************************

DIRECTIONS.
1. Make 9 exposures of a person, or people, using the Rembrandt lighting technique (that is, with the small triangle of highlight on the shadowed side of the face).

2. Make 9 additional exposures using the chiaroscuro technique (does not necessarily need the triangle that is specific to Rembrandt light)

NOTE.
All 18+ images must be portraits of people.
Within the 18+ images, there need to be a minimum of three different people that you have photographed.

RATIONALE.
To explore intentional light, and exert a bit of control in the way the light illuminates the subject.


Chiaroscuro (Italian for light-dark) in art is characterized by strong contrasts between light and dark, usually bold contrasts affecting a whole composition. More HERE.

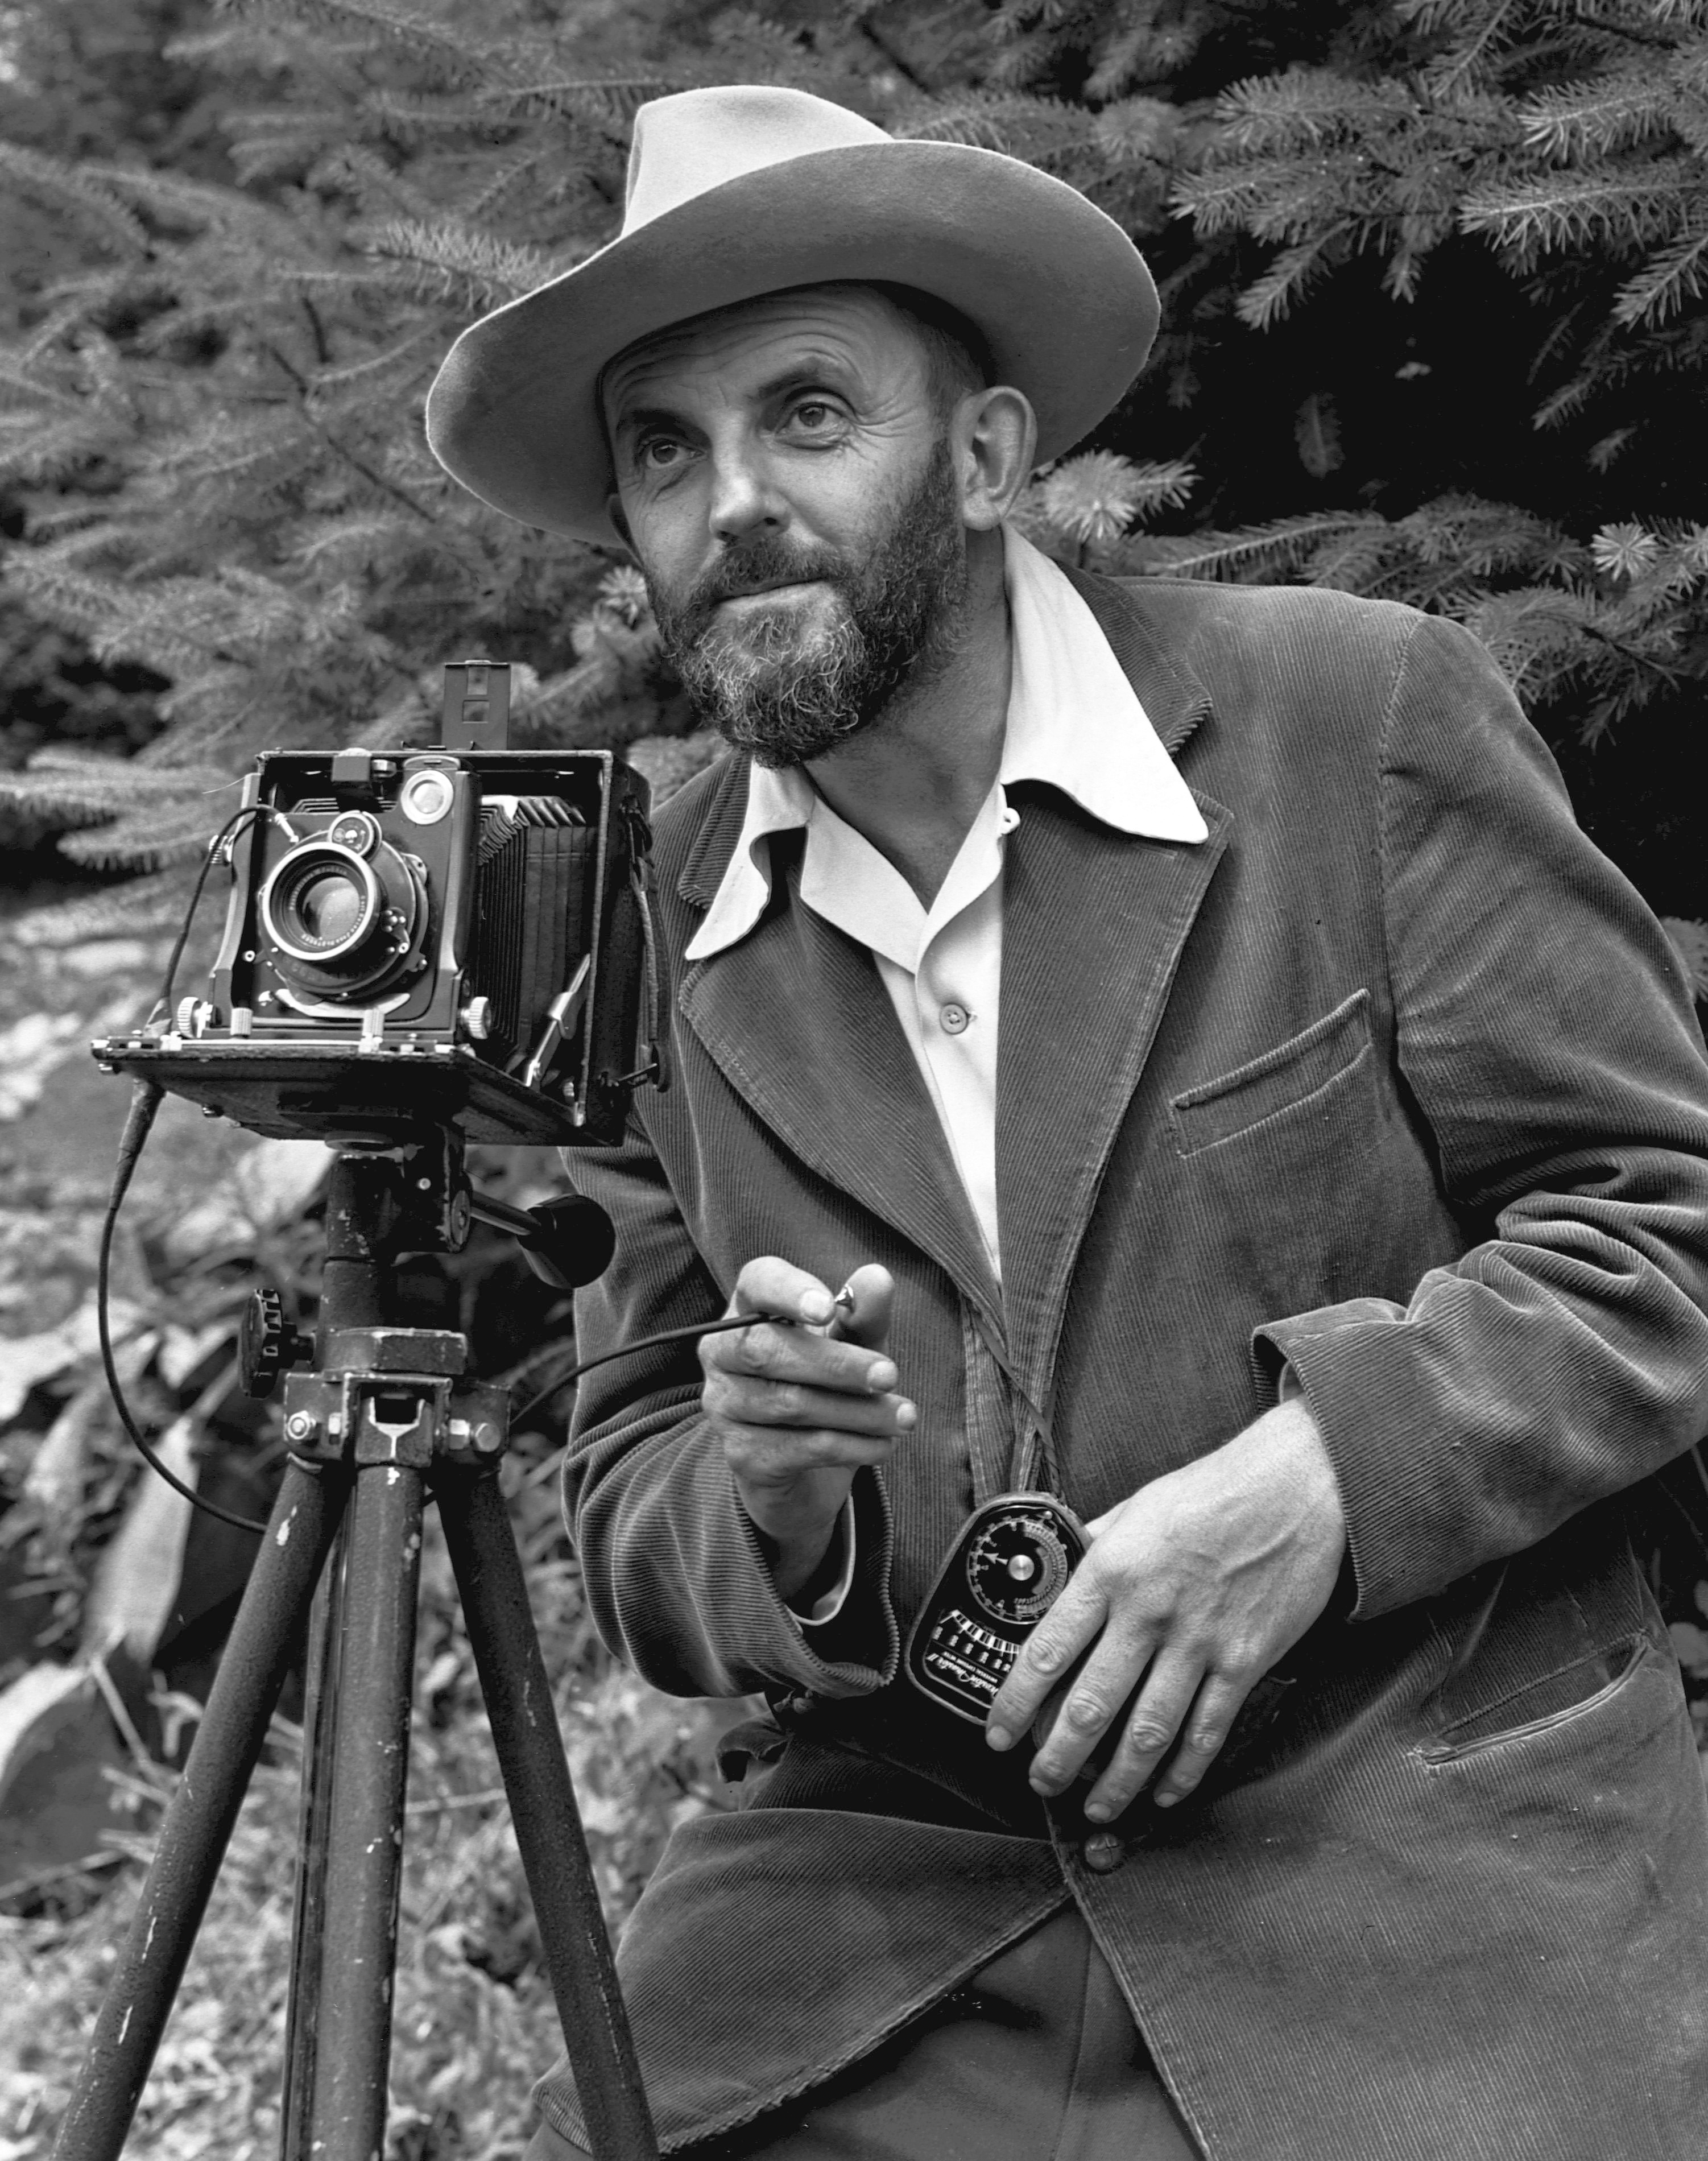
Rembrandt lighting is a lighting technique that is sometimes used in studio portrait photography. It can be achieved using one light and a reflector, or two lights, and is popular because it is capable of producing images which appear both natural and compelling with a minimum of equipment. Rembrandt lighting is characterised by an illuminated triangle under the eye of the subject, on the less illuminated side of the face. It is named for the Dutch painter Rembrandt, known for his use of light. More HERE.

In order to achieve the beautiful contrast between light and dark, known as chiaroscuro, there is a method employed by photographers -Rembrandt Lighting.


Decoding Chiaroscuro. CLICK HERE.
Click HERE to see and read how it is done.
An Aper(cul)ture article on Rembrandt lighting technique HERE.
Click HERE to see a few more lighting techniques (as well as more on Rembrandt lighting)
Examples. (CLICK HERE).


23 October 2020

PROJECT #8: INTENTIONAL SLOW SHUTTER, v.2


DIRECTIONS.

1. Set camera to S (shutter priority) -or- Use the Slow Shutter app on your phone.
2. Make 12+ images of intentional motion blur.
3. For at least FOUR of your subjects, photograph the subject that is moving TWICE, at different shutter speeds. We will create diptychs (like the above examples). The other images you make might be one-off motion blur images.
  • Make a range of photos that show fast & slow shutter speeds. 
  • Subject matter is your own choosing. 

NOTE.
*Mind your ISO in relation to your shutter speed.
**You will be turning in 16 images in total (two different versions of FOUR of motion blur ideas) 

LINK.
Shutter Speed Project Ideas

RATIONALE.
To continue exploration and mastery of manipulating shutter speed in your camera. 

15 October 2020

PROJECT #6: AUTUMN LEAVES (Ongoing & Completed by Monday, November 2)

DIRECTIONS. 
1. Make 16+ photographs of the changing color of leaves.
2. Develop in Photoshop and/or Lightroom (in color)
3. Post the final images to your blog


PHOTOGRAPHING.
Venture safely into the world and make photographs of autumn leaves. 
How you arrange and compose your photos is open to your interpretation
You may go about the project as a straight-forward landscape project. ...
Or, you could collect leaf textures using macro settings. 
You can approach it like a still life project: arranging the leaves as objects. 
Or you could think conceptually, and approach it like the environmental artist Andy Goldsworthy (click here for Andy).


REMEMBER:
1. Set the ISO of your camera appropriately.
2. Set the WB of your camera appropriately.
3. Open the aperture wide (small f-stop number) if you want an out of focus background.
4. Use macro function for close up textures.


SITES FOR REFERENCE.


05 October 2020

PROJECT #5: SURFACES (after Aaron Siskind, 1903-1991)

Aaron Siskind. Peeling paint (Jerome, Arizona) c.1950
This  close range photo by Aaron Siskind shows peeling paint, displaying a cold dark surface underneath. It's an interesting photo due to the way the flakes of paint point out in different directions, giving it an interesting, rough and rustic texture. The rough texture is also shown through the cracks running around the surface of paint. The central darkness of the peeling paint is the focus of the composition drawing the viewers eye into the depths of the textured cracked surface.  The black and white gives it a depth and contrast between the paint and under surface, creating an abstract image.


San Luis Potosi 16 (Mexico) 1961

RATIONALE: To exercise your artistic/creative seeing eye, and make photographs that are abstracted pieces of the wider view.

DIRECTIONS: Look at the surfaces around you. Notice how light falling on those surfaces creates light, shadow, and ultimately a visual texture. 
Photograph 36+ of these surfaces and bring to next class. (A minimum of 18 must be photographed OFF campus (to provide you with a broader experience of seeing)).
Note: The philosophy of "less is more" does not apply to us now. If you see & do more, all the better. :)

AARON SISKIND.
Although he started his career as a documentary photographer, Aaron Siskind (American, 1903–1991) quickly became known for his abstract photographs. Socially and professionally close with many of the Abstract Expressionist painters in his native New York, Siskind created photographs in dialogue with painting, attempting to find a new language for photographic depiction that could transform an object into an image, a description into an idea. Across a decades-long career, his work explored what he called “the drama of objects,” imbuing forms with animism and rhythm. (From Art Institute of Chicago website)


LINKS:
Image Search
ArtNet.com
International Center for Photography
Wiki Bio.
Etherton Gallery
Siskind's Peeling Paint at MoMA. CLICK HERE.
Siskind's Wiki Bio. CLICK HERE.
Aaron Siskind Foundation. CLICK HERE.
RISD bio. CLICK HERE.


29 September 2020

28 September 2020

PROJECT #4: GOLDEN HOUR PHOTOGRAPHS

GOLDEN HOUR: The hour* after sunrise and before sunset.
*Depending on where you are on Earth, the hour will be longer or shorter than an actual 'hour.' 


OUR FORECAST THIS WEEK:

Sunrise & sunset times (CLICK HERE).

DIRECTIONS
This week, make 24+ images during the golden hours.

- 12+ photographs = portraits (humans)
- 12+ photographs = subject of your own choosing (animals, flowers...)

*As the week progresses, we'll be talking about composition choices & developing the images. 

RATIONALE 
To observe and record the type of light that occurs during the golden hours. 

EXTRA CREDIT
For one+ morning magic hour photographs - for obvious reasons. :)


EXTRA TIPS, ETC. 


Apps to find the hour(s) in your location:

22 September 2020

PROJECT #3: A WALK

DIRECTIONS.
*If you can, download one of the apps suggested in the previous APP post. (Make sure the app has MANUAL (shutter/aperture/ISO/+) control features.

2. Charge your camera.
3. Go outside and take a walk (Be safe & keep your distance from others)
4. Literally, photograph everything that catches your eye. 
5. Play with composition (rule of thirds v. centered v. asymmetrical), shutter speed, exposure)

IDEA: How could you photograph the same thing in different ways.