16 December 2022

PROJECT #8: CLONES (Photoshop Layers Awareness Exercise)

TODAY IN CLASS: (12 points)
1. Make ONE practice image with 3+ different clones of your partner. 
2. Assemble the different images into one final image.
3. Post to your site.
4. Submit to Canvas after break.

@HOME FOR NEXT CLASS: (12 points)
1. Make two different sets of photographs (family/friend/yourself).
2. Assemble TWO images with THREE+ different clones each
3. Each final image must be a distinctly different setting/place. 
4. Bring photos to next class to begin processing and combining. 

NOTE: Direct your subject to do something different/odd/thought provoking for each of the separate photographs you make...make it something that is interesting and unexpected for the viewer. 

EXTRA CREDIT: If your clones give us a narrative of some sort, you will earn FOUR extra credit points. 

PAST STUDENT WORK:


DIRECTIONS: 
1. Placing your camera in ONE spot.
2. Do not move the camera. The background of each individual photo needs to match precisely.
3. Take multiple photographs with yourself in a different spot each time. 
4. Set the timer, or have someone carefully push the shutter button for each of the photos, if you wish. It  will look similar to this symbol in/on your camera:


Once the photos are taken...

4. Stack the images in Photoshop.
5. Erase the parts that are not needed from each layer so that the final compressed image contains you and your clones.

NOTE: Do not move the camera between photos. Even minimal changes in the camera position will distort perspective and light. 


EXAMPLES
Click on images for larger view.


Here are over-the-top examples by Martin Liebscher. CLICK HERE for his site


Here's a guy that does cloned video. Not what we'll do, but great anyway. CLICK HERE for more.


28 November 2022

PROJECT #7: Multiple Exposure (as metaphor?)

DIRECTIONS: Combine your photos into various multiple exposures. Use BLEND MODE in the Layers Palette, to blend the various images in your layers. Erase or cut away parts of photos if needed...The beauty is in the unexpected.

Make FIVE(+) multiple exposure images that combine images you have made with intent, and then combined with intention. 

To score above an average grade of C, create at least two of your multiple exposure images to combine photographs as metaphor...that creates a narrative. 

Peruse this article for some very basic ideas: https://expertphotography.com/visual-metaphor/
The article is a bit cliché in places, but can be a good place to begin. 

More than eight images will earn extra credit. 

********************************
Sara Byrne. CLICK HERE.
Christoffer Relander. CLICK HERE.
Dan Mountford. CLICK HERE.
Matt Wisniewski. CLICK HERE.
Nacho Oraechea. CLICK HERE.


Annie Kornberg


Nina Coleman


Hyesung Yu


Erik Radzik

Stefan moses.
Duane Michaels
Arturo Bragaglia
Student Work
Student work
Student work
Student work
Student work
Student work

 Hohman

14 November 2022

PROJECT #6: REMBRANDT PORTRAITS (Chiaroscuro+)

 
chi·a·ro·scu·ro

/kyärəˈsk(y)o͝orō/
noun
    • an effect of contrasted light and shadow created by light falling unevenly or from a particular direction on something.
    • ************************************************************

DIRECTIONS.

1. PERSON 1: Make 3-5 exposures of a person (or multiple people) using the Rembrandt lighting technique - with the small triangle of highlight on the shadowed side of the face.

Move the light source and/or your subject's head tilt/angle, even slightly, for each photograph to achieve slightly different shapes of the Rembrandt triangle of light.

It is normal to have many photos that look similar, but because you will slightly change angle of light/head during 

2. PERSON 2: Make 10 exposures of a person (or multiple people) using the Rembrandt lighting technique - with the small triangle of highlight on the shadowed side of the face.

= A total of  13-15 images.

RATIONALE.
To explore intentional light, and exert a bit of control in the way the light illuminates the subject.

NOTE
All 10+ Rembrandt images must be portraits of people.

The chiaroscuro images can be any subject matter that is illuminated in a high contrast manner. 


Chiaroscuro (Italian for light-dark) is a style of art that is characterized by strong contrasts between light and dark, usually bold contrasts affecting a whole composition. More HERE.

Rembrandt lighting is a lighting technique that is sometimes used in studio portrait photography. It can be achieved using one light and a reflector, or two lights, and is popular because it is capable of producing images which appear both natural and compelling with a minimum of equipment. Rembrandt lighting is characterised by an illuminated triangle under the eye of the subject, on the less illuminated side of the face. It is named for the Dutch painter Rembrandt, known for his use of light. More HERE.

In order to achieve the beautiful contrast between light and dark, known as chiaroscuro, there is a method employed by photographers - Rembrandt Lighting.


Decoding Chiaroscuro. CLICK HERE.
Click HERE to see and read how it is done.
An Aper(cul)ture article on Rembrandt lighting technique HERE.
Click HERE to see a few more lighting techniques (as well as more on Rembrandt lighting)
Examples. (CLICK HERE).


08 November 2022

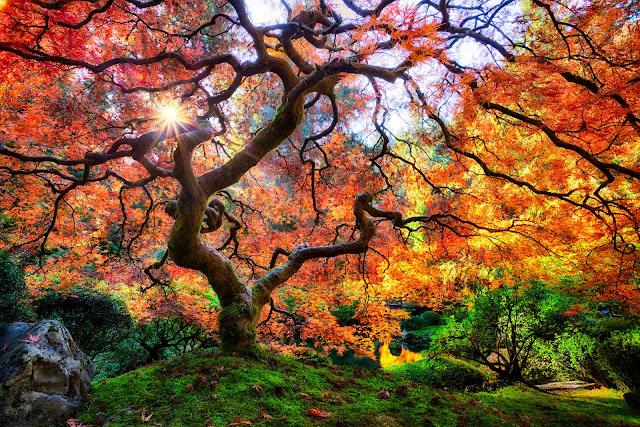
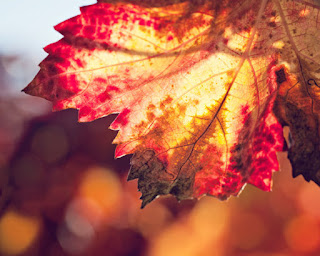
EC: AUTUMN LEAVES (One Class Manual Setting Practice)

DIRECTIONS. 
*Set the camera to M (Manual)
**Make 10+ images

TO DO:
1. Set the ISO appropriately.
2. Set the WB appropriately.
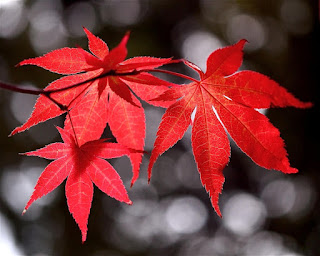
3. Open the APERTURE wide (small f-stop number) if you want an out of focus background.
4. Set the SHUTTER SPEED accordingly.
5. Develop in Photoshop and/or Lightroom (in color)
6. Post the final images to your site in a post titled 'AUTUMN LEAVES'


PHOTOGRAPHING.
How you arrange and compose your photos is open to your interpretation, but clever is better.
You may go about the project as a straight-forward landscape project. ...
Or, you could collect leaf textures using macro settings. 
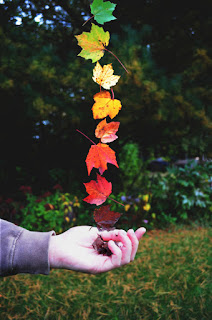
You can approach it like a still life project: arranging the leaves as objects. 
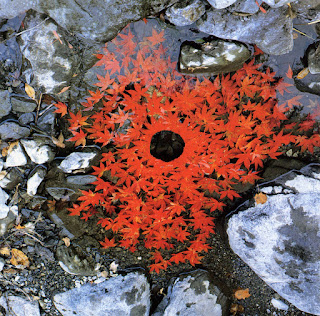
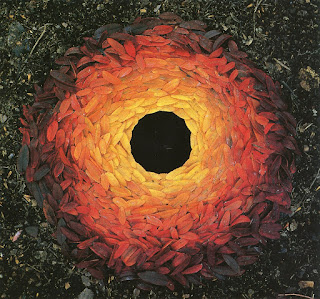
Or you could think conceptually, and approach it like the environmental artist Andy Goldsworthy (click here for Andy).


REMEMBER:

*When the APERTURE changes, so must the SHUTTER SPEED and/or the ISO.


SITES FOR REFERENCE.